How To Make a (Poor Man's) Body Voltage Meter
Background
The body voltage meter can be used to measure the voltage difference between one's body and the ground. Body voltage can result from the influence of static electricity, e.g., when shuffling one's feet on the ground, or from AC electricity. The parts of the original body voltage sensor multimeter plug-in from Less EMF do not seem to be readily available, and it may not be sold anymore as a separate body voltage sensor plug-in. (Less EMF has a cost-effective dedicated body voltage instrument, however, for those without the patience to learn about electricity.)
Original body voltage sensor from Less EMF
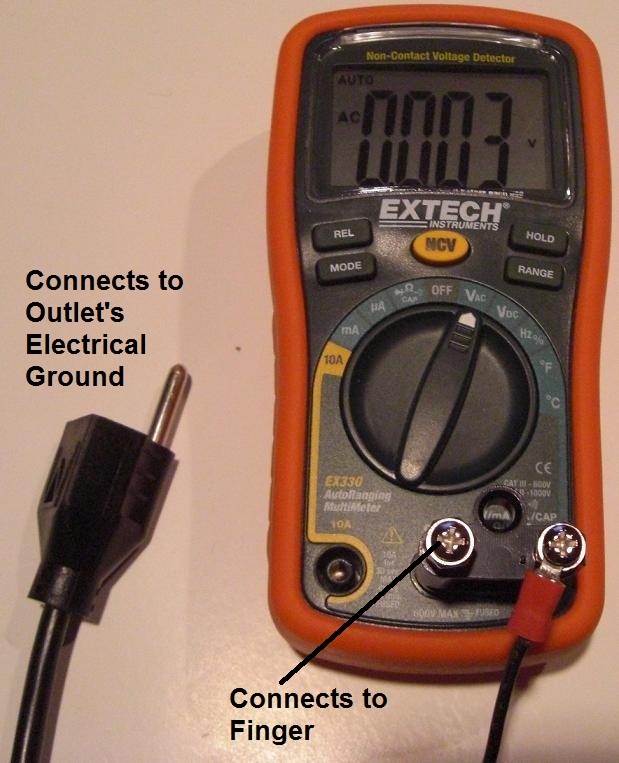
The following variation of the body voltage sensor also plugs into the multimeter.

Target Goal
At the end, a multimeter, will be put on VAC setting. One end will be connected into the ground. The other end will be connected to a person. The resulting measurement is the body voltage.
Caution
Remember that electricity may be involved, and this can be hazardous if not done properly! If you do not know what you're doing, you may want to ask an electrician to help.
Caveat
The process of measurement may influence the result itself. See references below for more caveats.
Prerequisite
Before starting, you should know some basics about electrical wiring, such as stripping wires. One helpful guide is Stanley's Complete Wiring.
Three Methods
There are 3 ways to connect the body voltage meter to the ground:
- Ground one end of the multimeter to the earth outside.
- Ground one end of the multimeter to the water pipes using a connector such as a battery clip Caveat: Remember that grounding pipes could potentially carry currents.
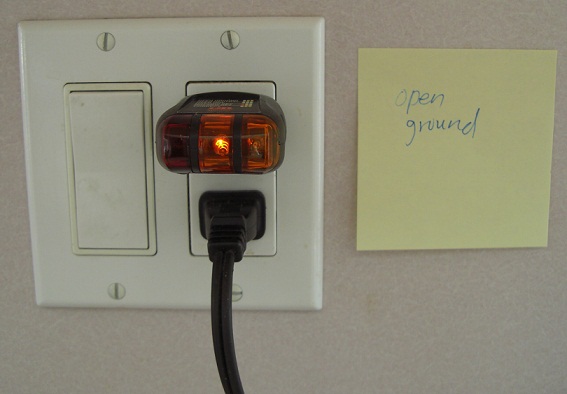
- Ground one end of the multimeter to the electrical ground via the grounding hole of the outlet. One can either cut the top 2 pins off the 3-pin plug, as in the original Less EMF body voltage sensor. Alternatively, one can strip off the cable sheath of a cable, and cut the hot (usually black) and neutral (usually white) wires at the plug end, leaving only the ground wire (usually green). Caveat is that the electrical ground could potentially carry dangerous voltages, net currents, and intermediate frequencies. Sometimes it may not be properly grounded, so be sure to check that also with an outlet tester. The image below indicates a problem with the grounding of the outlet in question.
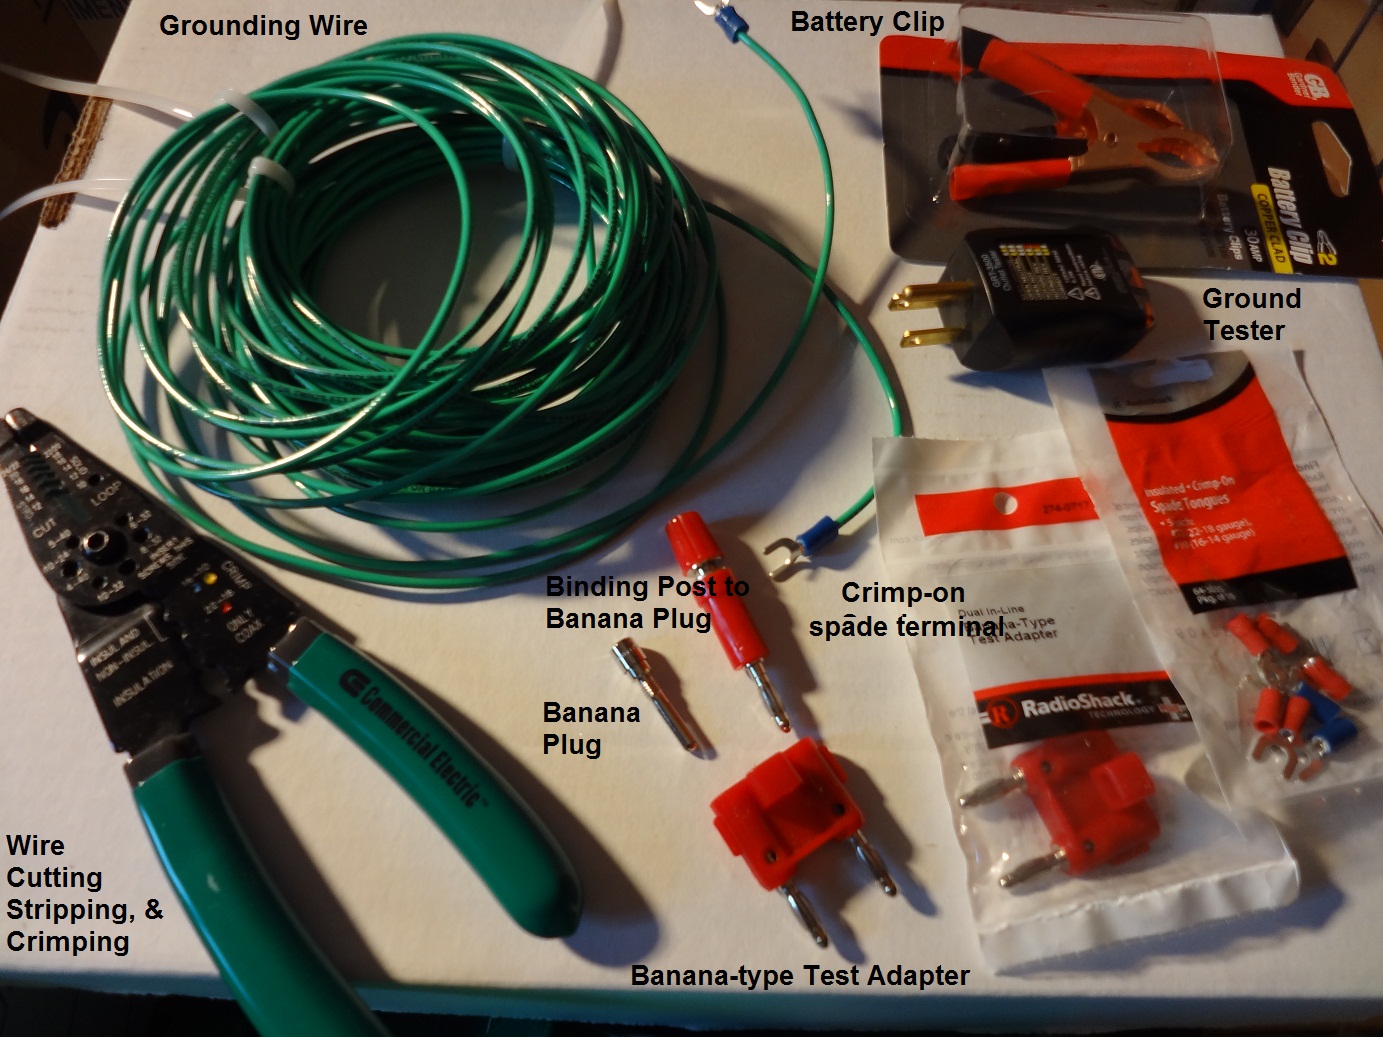
Parts of a Body Voltage Meter
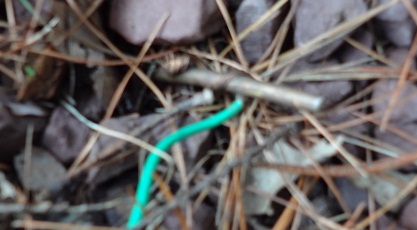
Copper Grounding Rod
Explanation of Parts:
- Multimeter The EEVblog has an excellent and entertaining video on choosing the best $50 multimeter EEVblog #91 - $50 Multimeter Shootout. Based on this video, the Extech 330 is one of the winners, and is available from Less EMF. Note that there are recommendations for the electrical resistance requirements for a body voltage meter. Greennest recommends Radio Shack's Multimeter 42 and the Fluke 83-8 as other acceptable versions.
- Grounding wire from Home Depot - Obtain a long enough wire length for you to move around one room and measure different areas. If you are going to get your body voltage compared to the actual earth outside, you may need a longer wire to reach your copper ground rod dug into the moist soil outside. If instead you do it the less safe way with the electrical ground, then it might not have to be as long, since there are many outlets in the same room. Note that this wire may outgas VOC's.
- Crimp-on spade terminal from Home Depot or Radio Shack
- Combination wire cutter, stripper, and crimper from Home Depot (The Commercial Electric one pictured has some plastic outgassing, so be sure to store it outside your living spaces.) The brand of Klein is especially recommended, but slightly more expensive than Commercial Electric. You will need to cut cables and strip the ends, and crimp on the spade terminals.
- Banana-type Test Adapter from Radio Shack-- Plugs into the multimeter. Not absolutely necessary, since the pieces that will be plugged into this adapter can also plug in directly to the muultimeter, but convenient.
- Binding Post to Banana Plug from Radio Shack- Plugs into Banana-type Test Adapter. The crimp-on spade terminal will fit into it
- Metal Banana Plug from Radio Shack - For the other end of the Banana-type Test Adapter that you will touch with your hand, for comparison of your body against the ground.
Alternative Methods for the Grounding Side
- Copper grounding rod - You can have cut a 1 foot piece of thick copper at Home Depot for the grounding rod.
- Battery clip (with caveats mentioned earlier) - You can clip this to a grounded metal pipe and crimp the other side to the ground cable.
- Electrical grounding (with caveats mentioned earlier)
- Outlet Tester - Use this to make sure the ground is properly connected. Note that this does not imply safety, however, as there may be voltages, currents, or intermediate frequencies on the ground cable.
- Buy ready-made grounding cable - Less EMF sells grounding cables for $6. If it's not long enough, you can make your own, but it's tedious, and probably not worthwhile:
- Kid's Hacksaw that can cut through Metal - If you want to do it the less safe way of using the electrical ground, you can use a kid's saw to cut off 2 prongs of a 3-pin electrical cable, but you might want a face mask because of the potentially dangerous particles that will be released. It will take about 10-20 minutes manually with this saw.
Heavy duty shears can snip these off more quickly, but not as cleanly.
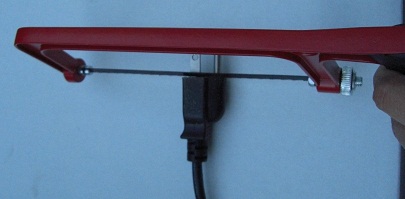
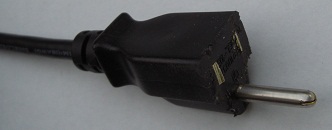
Electrician's tape- Use this to cover the sawed off pins of the 3-pin plug for some insulation. - Alternative: Stripping an Electrical cable - Alternatively, take a regular power cord, and strip off the entire outside cable. Cut off the hot and neutral wires very close to the plug end of the cable, and use electrical tape to insulate the cut ends of the hot and neutral wires so that they don't touch and that one doesn't touch it when the wire is live. Only the ground wire is wanted.
Instructions
- Cut the ground cable to desired length. Strip both ends. Crimp on the spade terminal to one end.
- Fit the spade terminal into one end of the binding post and tighten.
- Fit the metal banana plug into the other side of the binding post. You should now have something that looks like the following:

- Fit the binding post on the multimeter, using COM. Either way is fine.
- The other end of the ground cable can be connected to the grounding rod that will be dug into the earth outside. It can be winded around the grounding rod in several loops.
- Turn on the multimeter on the AC setting. When your body touches the metal banana plug of the binding post with the banana plug, then you will be measuring the body voltage.
Exercise caution when measuring your body voltage when turning on and off electricity. This on/off event itself may be harmful to health, especially when you may be electrically connected.
Read the following References to more caveats about the body voltage meter before you are misled by the results.

